
Cinnamon cookies with salty chocolate peanut butter
Semi raw beauties. These ones are ready in under 15 minutes and are the perfect combination of smooth and crunchy, sweet and cacaoy!
These little semi raw cookies are easy to make, pretty to look at and AWESOME to eat!!
I got the idea for these ones after yet another of my bliss balls-moments where I topped a cinnamon ball with a spoon of chocolate peanut butter. It was SO GOOD!
Here I’m using both almond butter (in the cookie) and the peanut butter (for the topping), but you could use either almond butter or peanut butter for both!
So, here’s my latest contribution to the world on yummy plant based treats, hope you like it!
Cinnamon cookies with salty chocolate peanut butter
Makes 16
Cinnamon cookies
10 fresh dates, pitted
1 Tbsp almond butter (or peanut butter)
3 dl / 1.2 cups rolled oats
1 Tbsp ground cinnamon
2-3 Tbsp water
1 pinch of flakey salt
Salty chocolate peanut butter *
1 1/2 dl / 0.6 cup unsweetened peanut butter crunchy (or almond butter)
1-2 Tbsp cacao powder, preferably raw
1/2 dl / 0.2 cups natural peanuts
1 Tbsp water (depending on how runny your PB is)
1 pinch of flakey salt
For garnishing
flakey salt
dried edible flowers (optional)
How to
Mix all the ingredients for the cinnamon cookies until you get a smooth dough, using a food processor. Add a bit more water in necessary. Form in to about 16 cookies, press down a small spoon in the middle of every cookie. Put the cookies on a plate.
Mix peanut butter, water, cacao and water until well combined. You might want to add a splash of water if the PB feels too thick. Add the whole peanuts and pulse until desired crunchiness.
Fill/top the cookies with the chocolate peanut butter using a small spoon. Sprinkle with flakey salt and dried flowers.
Put in the fridge, preferably for about an hour before serving.
Dig in and ENJOY!
* Make your own OR, you could also use the “Peanut butter chunky choco from” Urtekram. Super yummy and ready to go!

Swedish Chokladbollar By Thess
Back to the roots. Made from childhood memories and delicious ingredients. This is chokladbollar By Thess!
To make sure we’re all in the game: “Chokladbollar” is the Swedish word for this brilliant and VERY traditional no bake little treat. Directly translated it means chocolate balls, and that it just what they are!
For years I’ve been making several types of raw food bliss balls (no grains, only nuts/seeds etc), then I remembered that I’ve eaten the most delicious chokladbollar every other day when growing up. Chokladbollar might be the one thing ALL Swedish kids learn to bake as soon as they kan stand on a stool (so they reach the countertop).
Anyway, I went back to the roots, made a batch of classic ones - but with a #plantbasedbythess twist. And to be honest they are great. No fuss.
Swedish Chokladbollar
By Thess
Ingredients
Makes about 20-24 balls
🌿3 dl / 1.2 US cups rolled oats
🌿12 fresh dates, pitted
🌿1/2 dl light tahini or almond butter
🌿1 dl / 0.4 US cups raw cacao powder
🌿1 Tbsp brewed coffee
🌿1/2 tsp ground cinnamon or vanilla powder, optional
🌿A good pinch of flakey salt
🌿Shredded coconut for rolling
How to
Mix all of the ingredients until smooth (you want it to be sticky but rollable) in a food processor. Add a bit water or oat mylk (any plant mylk really) if it feels too dry, or a bit more rolled oats if it feels to wet.
Form in to balls. As big or small as you want. Basic knowledge - if you make smaller ones you can eat many and you get more (!) coconut coating.
Put shredded coconut in a bowl, add a few balls at a time and give the bowl a good shake so the balls get all covered. OR even smarter - use a bowl with a lid, then you can give it a proper shake!!
Let the chokladbollar sit in the fridge for about an hour before eating. Best when chilled! Eat within a couple of weeks (you will never be able to keep them for that long. Trust me on that one!).
Good to know!
The chokladbollar can be stored in the freezer if you want to keep them for longer, or make in advance in you have a fika coming up.

Apple cake bliss balls with cacao nibs
Delicious small bites of - my take on - a soft and sweet Swedish apple cake! Easy to make - even easier to love!
Delicious small bites of - my take on - a soft and sweet Swedish apple cake! Inspired by my dear friends at Food Pharmacy I made these ones the other day when I wanted something sweet for fika (Swedish word for a time of day when you sit down/chill out/have a snack + cup of tea or coffee or some other drink maybe). And I am very happy with the result - natural sweet, nutty and nutritious ingredients flavoured with two of my favourite spices; cinnamon and cardamom cannot go wrong. So it wasn't much of a gamble to be honest.
Unlike most bliss balls these ones are soft - and almost kind of chewy. As the cashews are soaked before mixing the bliss ball batter, they are easier to digest (+ nutrients even more accessible)+ adds an extra creaminess to the balls. Now let's bake!
Apple cake bliss balls with cacao nibs
Makes about 20 bliss balls
Ingredients
2 dl cashew nuts, soaked for 1-2 hours in 5 dl water I 1 tsp unfiltered apple cider vinegar
2 dl steel cut oats
1 red apple, roughly grated
6 fresh dates, pitted
2 tsp ground cinnamon
1 tsp ground cardamom
2 tbsp cacao nibs (optional)
grated coconut for rolling
How to
Drain and rinse the cashews. Mix with the rest of the ingredients, except for the cacao nibs, until a soft and smooth batter. Add the cacao nibs and pulse a few times. Form in to 20 balls, and roll in grated coconut.
Store in the fridge or freezer.
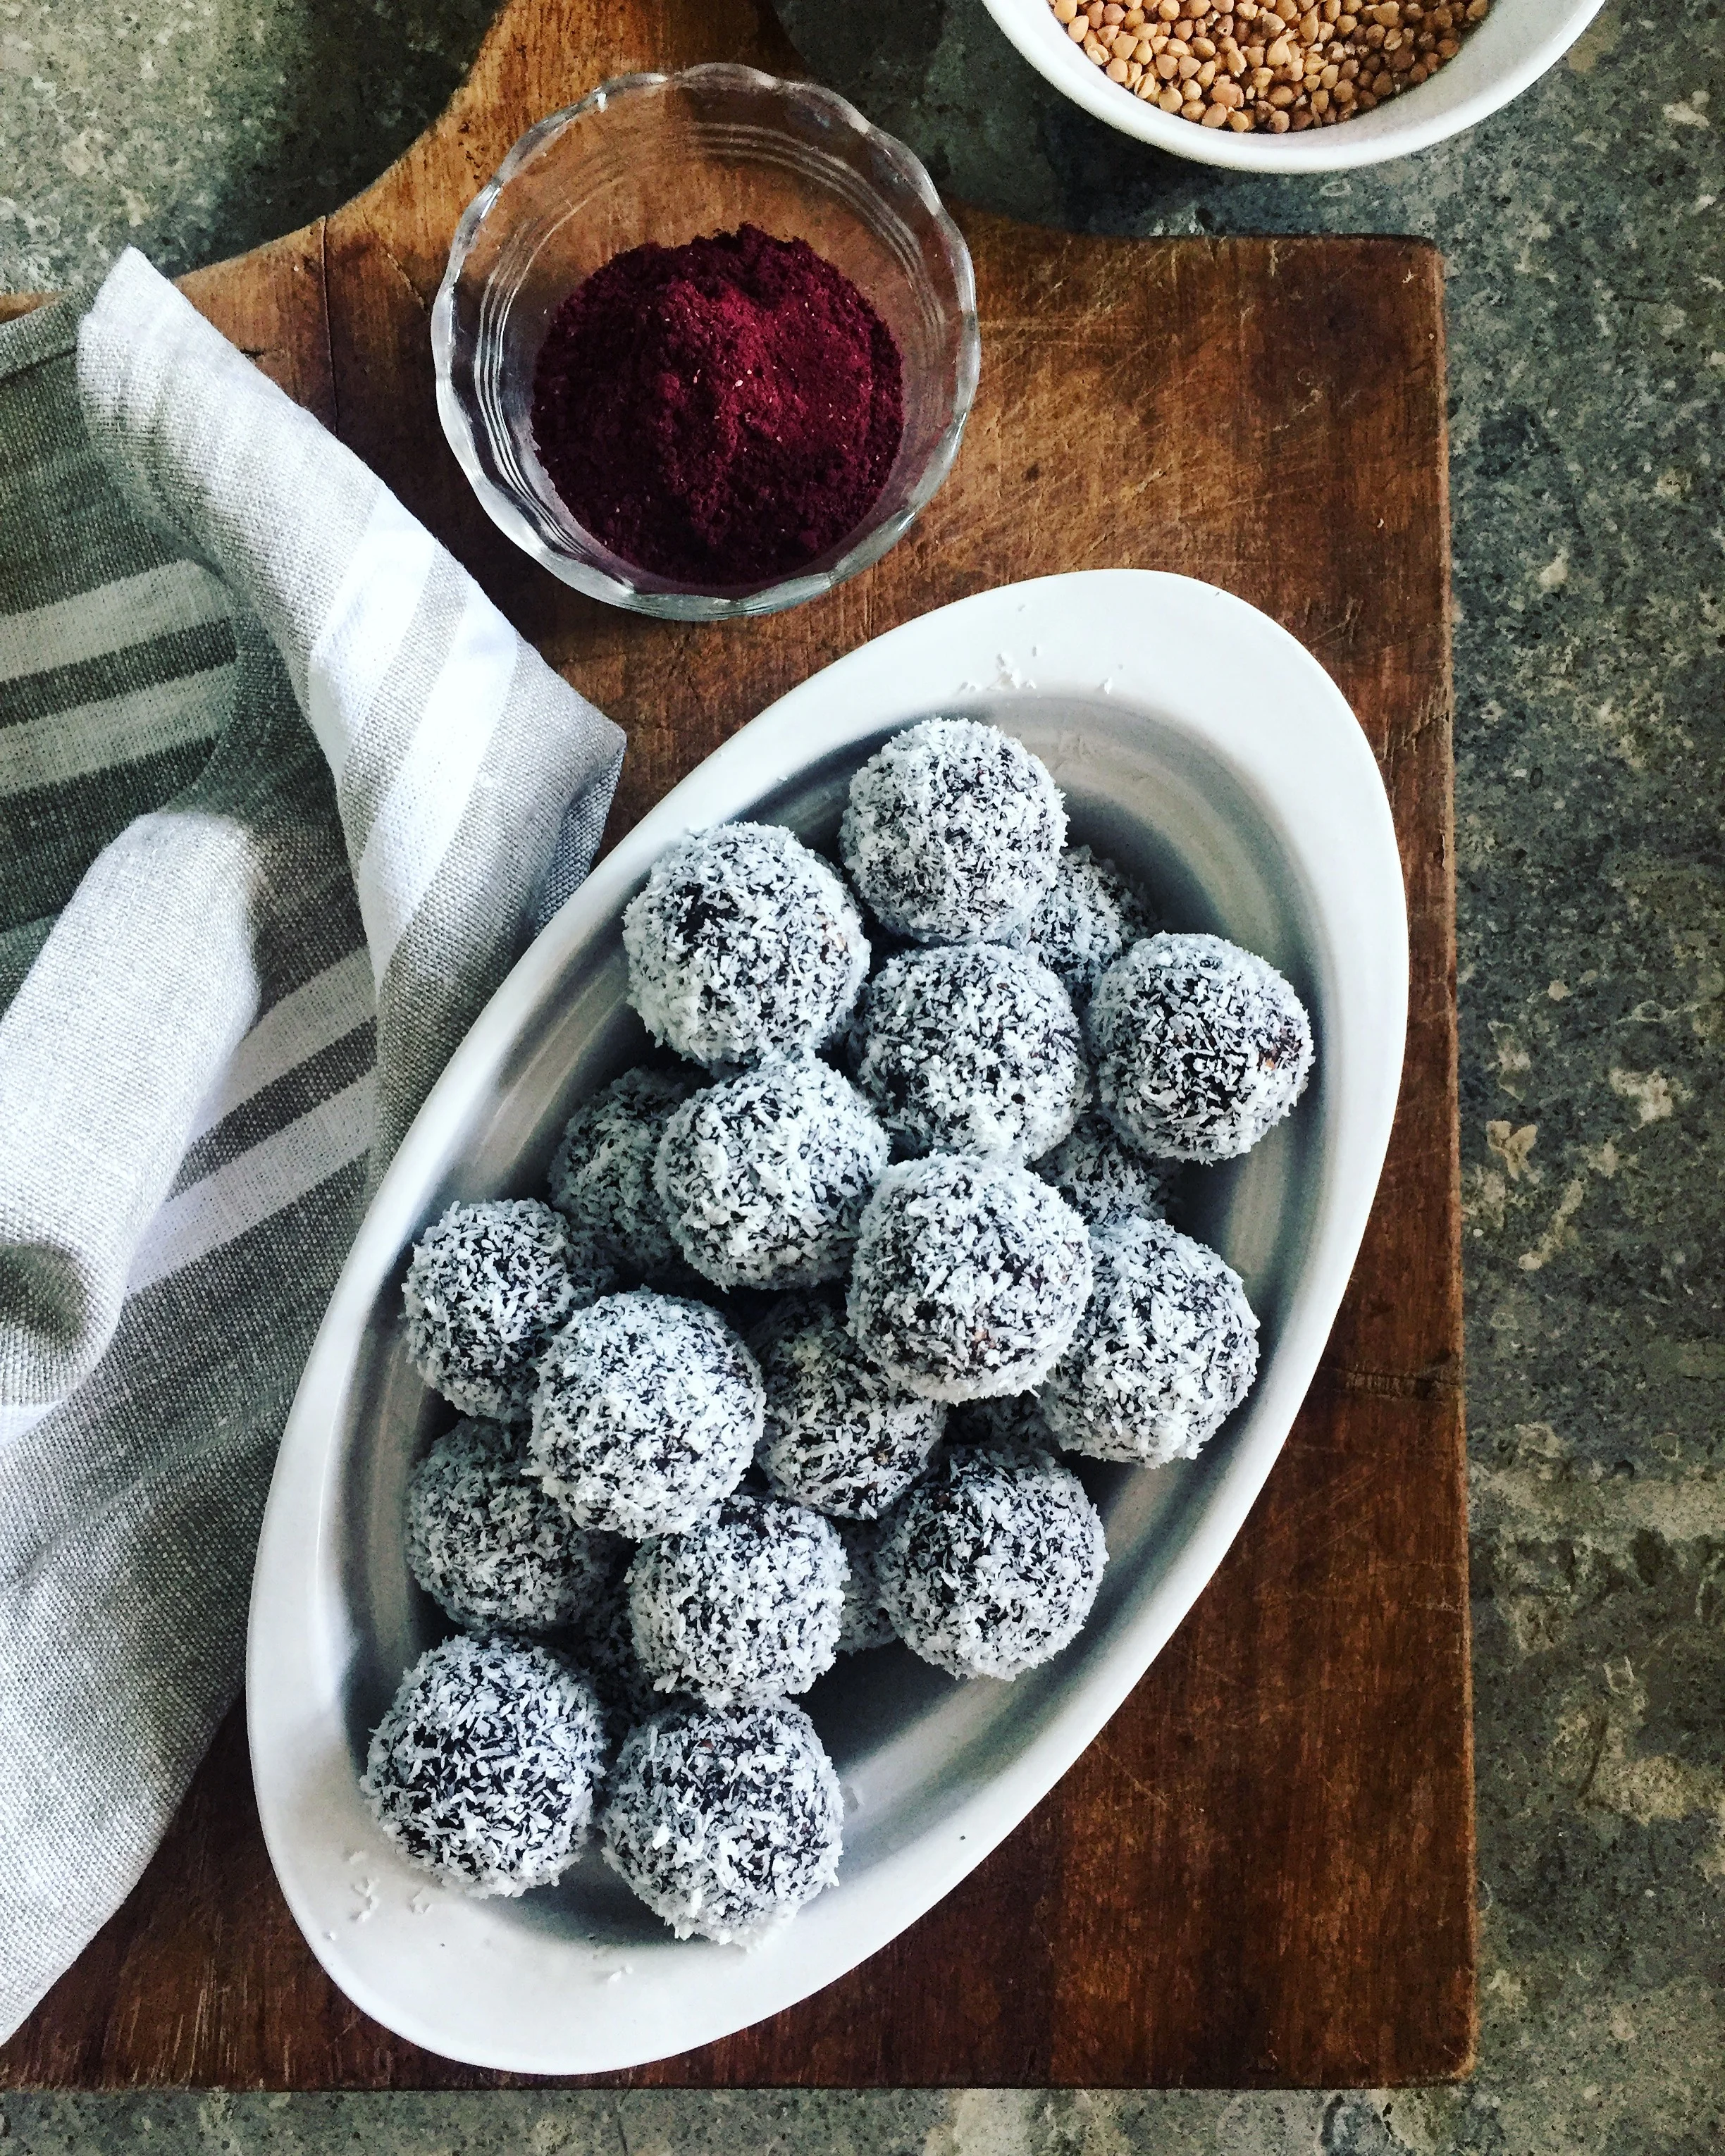
Buckwheat chocolate bliss balls with blueberry and coconut
The chocolate together with the blueberry is a really tasty combination. And the tiny bit of sea salt that I always add makes all the difference.
I really love almonds, nuts and seeds. As a snack, on top of a salad, on my morning porridge, mixed to a nut butter and in raw desserts. Nuts contain LOTS of greats nutrition, and they also contain a lot of fat. Good fat, but still, even good things can be to much. Therefore I like to sometimes use toasted buckwheat whenever I make raw desserts or bliss balls for afternoon snack. Buckwheat groats contains lots of great nutrition, but less fat then nuts and seeds. And also - the toasted buckwheat gives a delicious crunchy texture, and it's gluten free.
So, I came up with a simple recipe for a perfect and delicious little ball with buckwheat instead of the commonly used nuts or seeds. This buckwheat bliss ball is the perfect “fika” but also a great afternoon snack. I made them the other day, during one of the retreats here in France this summer - and everybody loved them. The chocolate together with the blueberry is a really tasty combination. And the tiny bit of sea salt that I always add makes all the difference.
A few things to have in mind is: add more cacao for an even more chocolaty flavor, add more blueberry power for even more of a berry taste, and more dates for a sweeter touch. Mix it until you make it - so to speak!
Enough writing. So, here is the recipe for these little ones, hope you like them!
Buckwheat chocolate bliss balls with blueberry
Makes about 20 bliss balls
Ingredients
2 1/2 dl dried whole buckwheat groats (buy toasted ones if you find in your store, then you kan skip the first instruction below on how to toast them yourself)
3/4 dl cacao
2 tbsp blueberry powder
A pinch of flakey salt
10 fresh dates, pitted
2 tbsp cold pressed coconut oil
1-2 tbsp water
Shredded coconut for rolling
How to
Put the buckwheat in a fine mesh strainer. Bring some water to a boil and then pour over the buckwheat. Rinse with cold water and let drain for a few minutes. Toast in a dry pan, on medium heat, until golden and crisp. Let cool.
Mix buckwheat, cacao and blueberry power until some of the buckwheat has been crushed. I like my bliss balls to have quite a few whole buckwheat groats left as I like the crunchy consistency, but you can also mix until a flour like consistency. Add dates, coconut oil and water, mix until a dough. You might want to add a bit more water to get the dough to stick together.
Form the dough in to about 20 balls, roll in shredded coconut. Put on a plate and let chill in the fridge for at least 30 minites before serving. Allowing time in the fridge (or freezer if you cannot wait to dig in!) will make them even more firm and - if you ask me - even tastier!


Vivamus pellentesque vitae neque at vestibulum. Donec efficitur mollis dui vel pharetra.