
Tahini and caramel mousse truffles with raspberries
Decadent raw little bites filled with flavour and happiness. With a touch of coconut and caramel they are close to irresistible.
Carob is a seed that comes from a brown pod of a tree of the same name, originally from the Mediterranean. The flavour is a bit similar to cacao - but with a more caramel touch to it. Except from the great flavour it's said to have quite a few health benefits such as; containing good fibers and minerals, contains a good amount of antioxidants and the seed is also naturally low in fat. Carob can normally be found in well stocked food stores, health food stores and online. However, if you cannot get hold of any carob, raw cacao would work just as fine.
I like the truffles best properly chilled - close to frozen. Therefore I tend to always store them (if there are any left that is...) in the freezer. Which is good to make sure they stay fresh for as long as possible anyway!
The combination of a sweet yet light base, decadent caramel mousse and a dark chocolate top layer with hints of goji berries is just a prefect combination - time to get baking!
Tahini and caramel mousse truffles with raspberries
About 16 truffles
Buckwheat and coconut base
2 dl / 0.8 US cups whole buckwheat, soaked for 8 hours or over night
2 dl / 0.8 US cups grated coconut
8 fresh dates, pitted
1 pinch sea salt
Caramel mousse layer
1/2 dl / 0.2 US cups light tahini
1 dl / 0.4 US cups coconut cream
1 ripe avocado
1 1/2 dl / 0.6 US cups carob powder (to be found in well stocked food stores, health food stores and online)
1/2 tsp sea salt
8 fresh dates, pitted
Chocolate layer
1/2 dl / 0.4 US cups cold pressed coconut oil
1 dl / 0.8 US cups cacao (preferably raw)
1 pinch sea salt
1/2 dl / 0.4 US cups goji berries
How to
Drain and rinse the buckwheat carefully.
Mix all the ingredients for the base in a food processor until everything comes together and gets a smooth texture. Cover a small baking tin with plastic film. Press the dough into the tin. Put in the freezer.
Peel and deseed the avocado. Mix all the ingredients for the mousse in a high speed blender until completely smooth (could also be done in a good food processor, but might take some more time). Spread out the mousse over the base, put back in the freezer.
Heat the coconut oil on low heat, you want it to be liquid but not hot. Add the cacao and salt and whisk together. Let cool. Drizzle over the mousse layer, making sure every bit gets covered. Add the goji berries on top. Put back in the freezer for at least 1 hour.
Take out the cake from the freezer 15 minutes prior serving. Cut in to smaller pieces. Serve topped with fresh raspberries and fresh mint.
Enjoy!
Photo by Fanny Hansson. Recipe originally published in The Gothenburg-Post/Två dagar in August 2018.
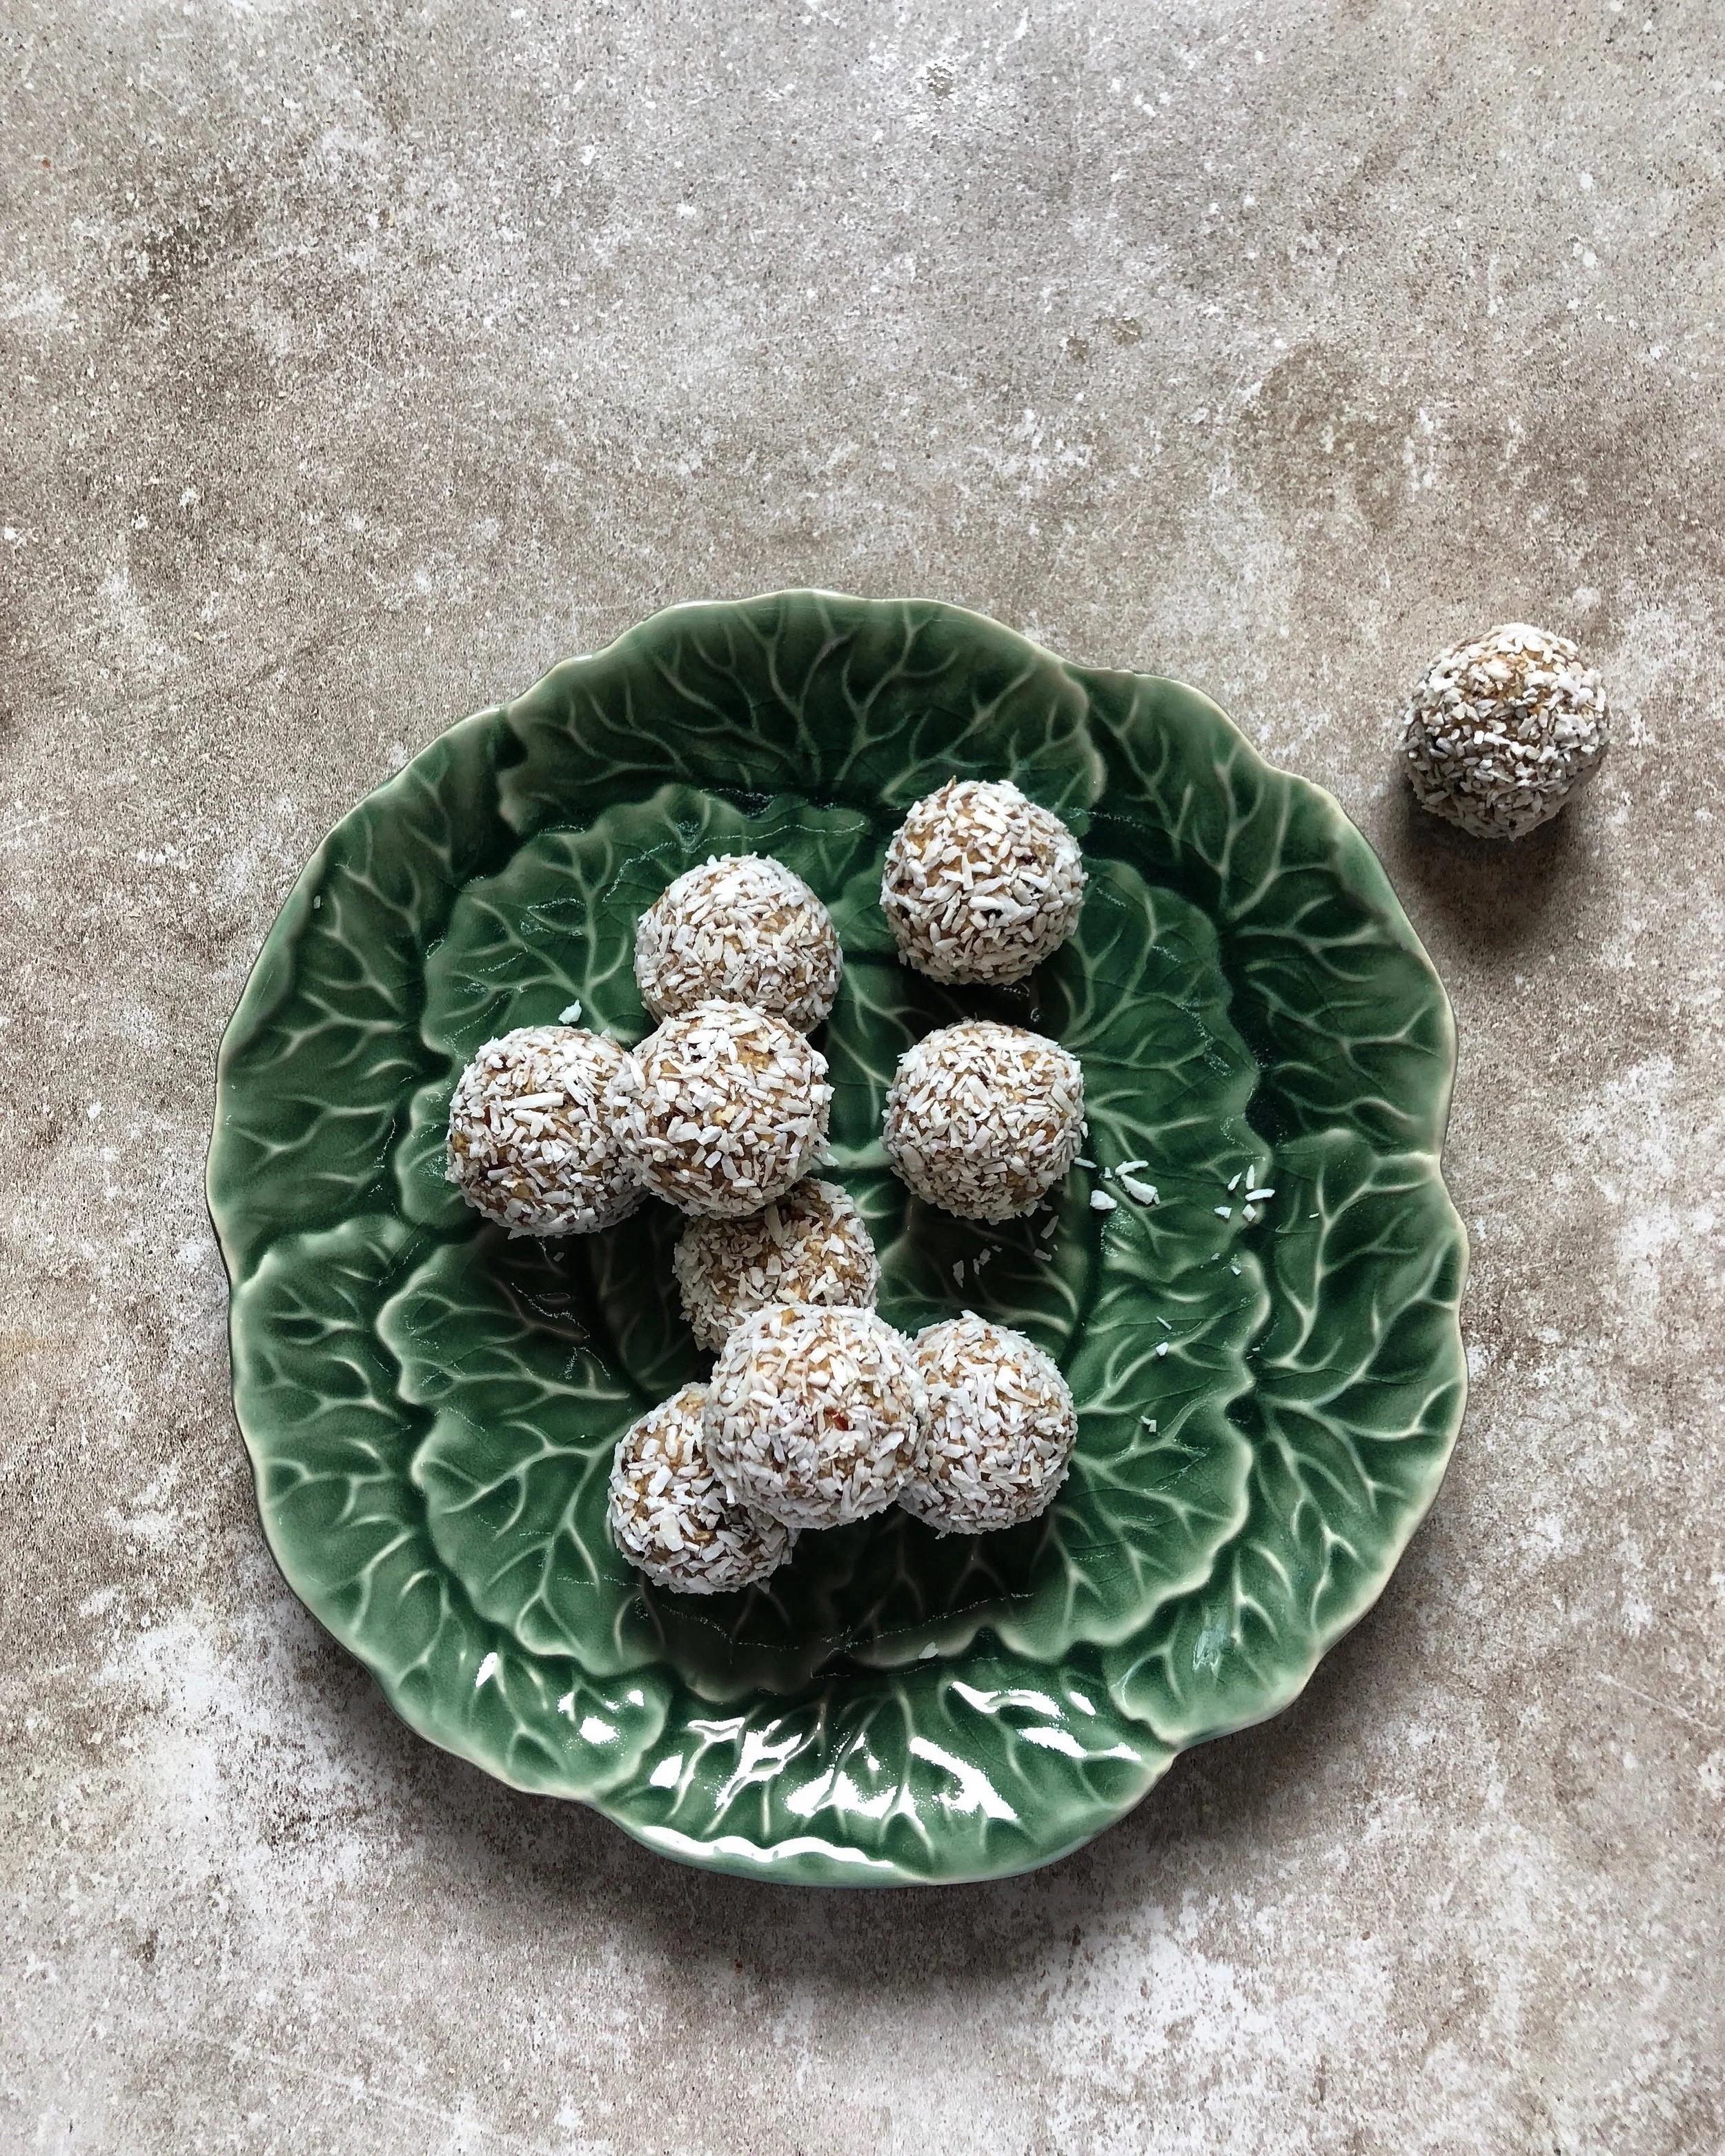
Apple cake bliss balls with cacao nibs
Delicious small bites of - my take on - a soft and sweet Swedish apple cake! Easy to make - even easier to love!
Delicious small bites of - my take on - a soft and sweet Swedish apple cake! Inspired by my dear friends at Food Pharmacy I made these ones the other day when I wanted something sweet for fika (Swedish word for a time of day when you sit down/chill out/have a snack + cup of tea or coffee or some other drink maybe). And I am very happy with the result - natural sweet, nutty and nutritious ingredients flavoured with two of my favourite spices; cinnamon and cardamom cannot go wrong. So it wasn't much of a gamble to be honest.
Unlike most bliss balls these ones are soft - and almost kind of chewy. As the cashews are soaked before mixing the bliss ball batter, they are easier to digest (+ nutrients even more accessible)+ adds an extra creaminess to the balls. Now let's bake!
Apple cake bliss balls with cacao nibs
Makes about 20 bliss balls
Ingredients
2 dl cashew nuts, soaked for 1-2 hours in 5 dl water I 1 tsp unfiltered apple cider vinegar
2 dl steel cut oats
1 red apple, roughly grated
6 fresh dates, pitted
2 tsp ground cinnamon
1 tsp ground cardamom
2 tbsp cacao nibs (optional)
grated coconut for rolling
How to
Drain and rinse the cashews. Mix with the rest of the ingredients, except for the cacao nibs, until a soft and smooth batter. Add the cacao nibs and pulse a few times. Form in to 20 balls, and roll in grated coconut.
Store in the fridge or freezer.

Frozen cashew berry mousse layer cake
A nutty (without any nuts!) bottom layer topped with creamy cashew layer with a hint of lime and a berry mouse layer. This frozen cake is as lovely in flavor as it is beautiful.
Frozen cashew berry mousse layer cake
12-16 pieces
Bottom layer
2 dl sunflower seeds
10 fresh (150 g)
1 tbsp freshly squeezed lime juice
zest from 1 organic lime
1 tbsp cold pressed coconut oil
1 pinch sea salt
one big handful of fresh lemon balm
Cashew layer
2 dl natural cashew nuts
1 tbsp agave syrup
1 tbsp cold pressed coconut oil
3 tbsp water from soaking the dates
3 tbsp freshly squeezed lime juice
1 pinch pure vanilla powder
1 pinch sea salt
Berry mousse layer
3 dl frozen raspberries
5 fresh dates (75 g)
1 tbsp cold pressed coconut oil
1 ripe avocado
To garnish
Fresh berries (I used raspberries and blackberries)
lemon balm
cacao nibs
How to
Soak the cashews i water for at least 8 hours, or over night.
Bottom layer: Toast the sunflower seeds in a hot, dry frying pan until lightly golden. Pit the dates. In a food processor mix the sun flower seeds to a flour. Add dates, lime juice, zest, coconut oil and salt and mix to a dough. You might have to add 1-2 tbsp water to make the dough get the right texture. Add the lemon balm and pulse a few times. Cover an oblong bread tin with plastic film and press out the dough in the bottom of the baking tin. Place in the freezer.
Cashew layer: Drain the cashews, but save the water. In a food processor mix cashews, agave syrup, coconut oil until completely smooth. This takes at least 5 minutes with a regular food processor. Stop the food processor a few times and scrape down the sides of the food processor as necessary (to protect from over heating) before continuing. Add 3 tbsp of the soaking water, lime juice, vanilla powder and salt. Continue to mix until a completely smooth mixture. Spred the cashew mixture evenly over the bottom layer. Put back in the freezer for 1 hour.
Raspberry mousse layer: Defrost the rasberries. Pit the dates. Peel and pit the avocado. In a food processor mix raspberries and coconut oil until smooth. Press the mixture through a fine mesh strainer using a spatula to remove the raspberry seeds, leaving just the pulp. Transfer the mixture back to the food processor. Add dates and avocado and mix until completely smooth. Spread the raspberry mixture evenly over the cashew layer. Cover with plastic film and put back in the freezer. Leave for at least 3 hours before serving, or over night. Garnish with fresh berries, lemon balm and cacao nibs.

Oat and almond thumbprint cookies w rhubarb curd
This small cookies are kund of small bites of heaven if you ask me. Easy to make, really pretty and filled with flavor and nutritious ingredients.
This small cookies are kund of small bites of heaven if you ask me. Easy to make, really pretty and filled with flavor and nutritious ingredients. Containing goodies as oats, almond flour and almond butter, and sweetened with fresh dates they are a really good treat for you and your body.
As we have the most beautifully tasting rhubarbs in Sweden now (in the beginning of the summer season) I felt like doing something with them. I ended up making the easiest rhubarb curd ever; Wash and chop the rhubarb in to pieces, then just lightly boil the chopped rhubarb in a little bit of water on low heat. When the rhubarb start to get soft I just roughly mash them with a fork, add a pinch of vanilla powder and agave syrup to taste. I really like the kind of sourish taste of the rhubarb though, so I tend to just use a tiny squeeze of agave to only get a sweet touch to it. You could do it without as well, or add more sweetening it you want.
A few days after this picture was taken I baked the cookies again (yes, the first ones were finished by then…) for my 25-years birthday celebration party. Then I filled them with raspberry curd instead, prepared in the same way as my rhubarb curd but with raspberry instead. Very yummy as well, trust me!
Tips! Make a bigger batch of the rhubarb curd and use as topping on your morning oats, chia pudding, smoothie bowl or why not as a filling in a sweet crêpe! Will keep in the fridge for about 3 days.
Retouch of the pictures by Sofia Törnqvist
Oat and almond thumbprint cookies w rhubarb curd
Makes about 20 small cookies
Cookies
2 dl oats (gluten free if gluten intolerant)
2 dl almond flour
1 tbsp corn starch
1/2 tsp baking powder
1 pinch sea salt
5 fresh dates
2 tbsp almond butter
2 tbsp oat milk
1/2 dl cold pressed coconut oil, melted
Rhubarb curd
60 g fresh rhubarb
2 tbsp water
1 tsp agave syrup
a pinch pure vanilla powder
How to:
Wash and slice the rhubarb in to pieces, about 1×1 cm. Boil rhubarb pieces in 2 tbsp water until tender. Using a fork. Add the agave syrup and vanilla powder, let simmer for a few more minutes.
Pre heat the oven to 200°C. Mix the oats until a flour in a food processor. Add the rest of the dry ingredients. Pit the dates. Add dates to the dry mixture and pulse until crumbly texture.
Add almond butter, coconut oil and oat milk. Mix until it forms in to a dough. You might have do add a bit more oat milk to get the dough to stick together. Roll dough in to about 20 small balls. Put them on a baking sheet and lightly press them down with your palm, finishing of by making a thumbprint “holes” using you thumb.
Fill in the thumbprint holes w rhubarb curd. Bake in oven for 15-18 minutes, until lightly brown and firm underneath. Don’t be afraid if the cookies seem to loose when taken out of the oven, they will be more firm as they cool down. Store in an air tight container in the fridge.


Vivamus pellentesque vitae neque at vestibulum. Donec efficitur mollis dui vel pharetra.